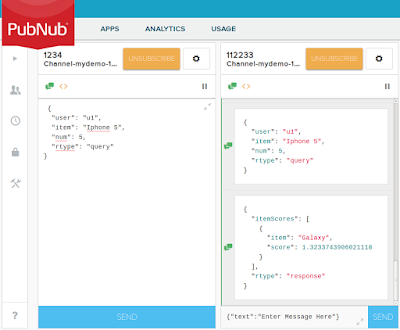
Recommendation Engine in Docker Container!
Check out my docker container with recommendation engine serving recommendations via PubNub queues!You can find introduction to the idea of Subscribe-Serve and Subscribe-Get Service in my previous post Recommendation as a Microservice.
Show Time
How to run your own recommendation micro-service? It's very easy. You can do it in just few simple steps.Steps Summary
1. Pull docker image.2. Start docker container.
3. Train.
4. Get service.
Detailed Instructions
1. Pull docker image.docker pull goliasz/raas-micro:1.1
2. Create your account and first queue in PubNub.
- Go to PubNub home.
- Register. The simples way is just by using Google account.
- Create you PubNub App.
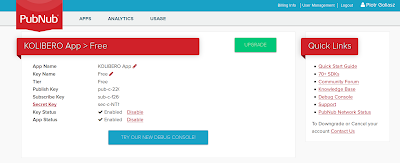 |
| PubNub application with publish and subscribe keys assigned |
- Start Debug Console
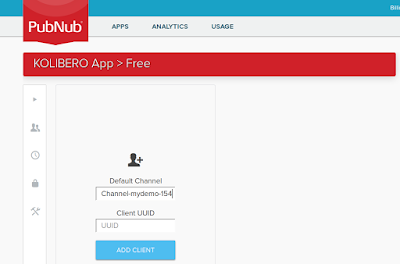 |
| Debug console before adding clients |
- Choose your channel name
- Add two clients
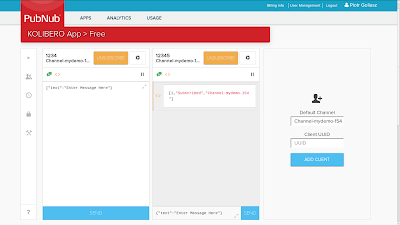 |
| Two queue clients added. First maximized. |
docker run -dt --hostname reco1 --name reco1 -e "PN_PUBKEY=pub-c-1113-demo-3" -e "PN_SUBKEY=sub-c-1f1a-demo" -e "PN_CHANNEL=Channel-mydemo-154" goliasz/raas-micro:1.1 /MyEngine/autostart.shWait two minutes and you should see in your PubNub queue readiness messages.
 |
| Readiness messages |
{
  "msg": "training ready",
  "rtype": "info"
}
{
"msg": "query ready",
"rtype": "info"
} {
"msg": "service ready",
"rtype": "info"
} Copy/Paste one by one training messages below to PubBub client window and "Send" after each message.
{
"event": "purchase",
"entityType": "user",
"entityId": "u1",
"targetEntityType": "item",
"targetEntityId": "Iphone 6",
"rtype": "train"
}
Click "Send"
{
"event": "view",
"entityType": "user",
"entityId": "U 2",
"targetEntityType": "item",
"targetEntityId": "Phones",
"rtype": "train"
}
Click "Send"
{
"event": "$set",
"entityType": "item",
"entityId": "Galaxy",
"properties": {
"categories": [
"Phones",
"Electronics",
"Samsung"
]
},
"rtype": "train"
}
Click "Send"
After sending first message you should see the message repeated in second client window.
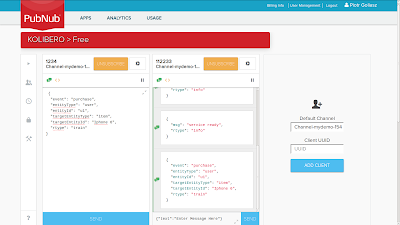 |
| Training message repeated in second client window. |
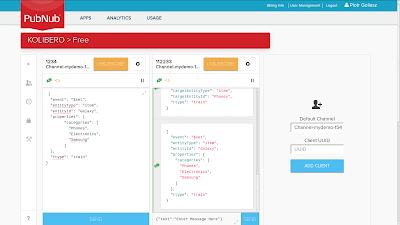 |
| After sending all training messages |
{
"cmd": "retrain",
"rtype": "service"
}
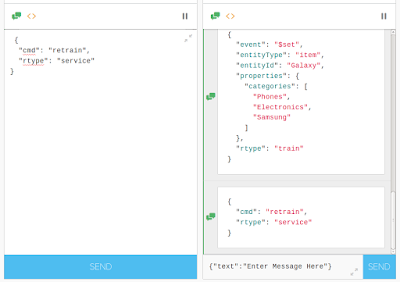 |
| Service "Retrain" message sent |
Wait 3 or 4 minutes and get your recommendation.
5. Ask for recommendations
Just send query message.
Congratulations! You have your own recommender engine in Subscribe-Server architecture!
Conclusions
- Nothing stops you to have your own recommender engine.
- It is easy!
Resources
(c) KOLIBERO, 2016
